
Trim: what to know before you hire
Trim is the finish that frames a room — and the difference between trim that looks built-in and trim that looks tacked-on is all in the joints. Tight miters, coped inside corners, and filled nail holes are what you're paying a finish carpenter for; gaps and caulk smears are what you're trying to avoid.
What trim work looks like
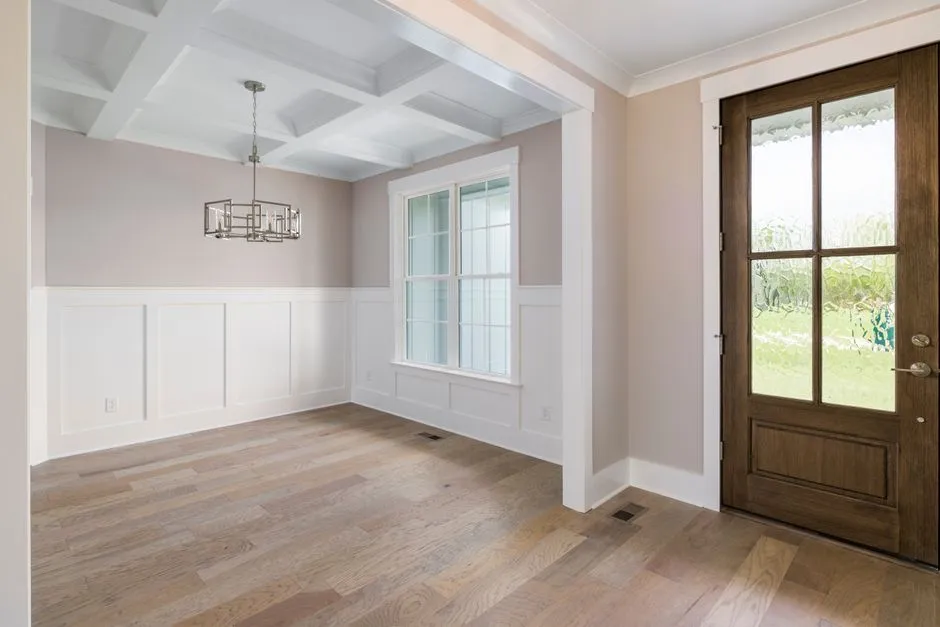
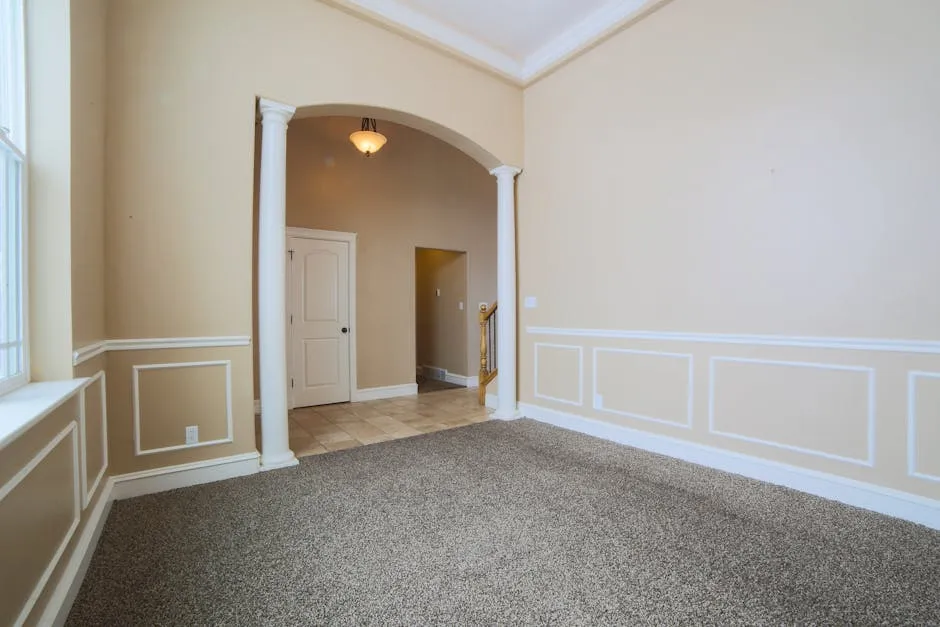
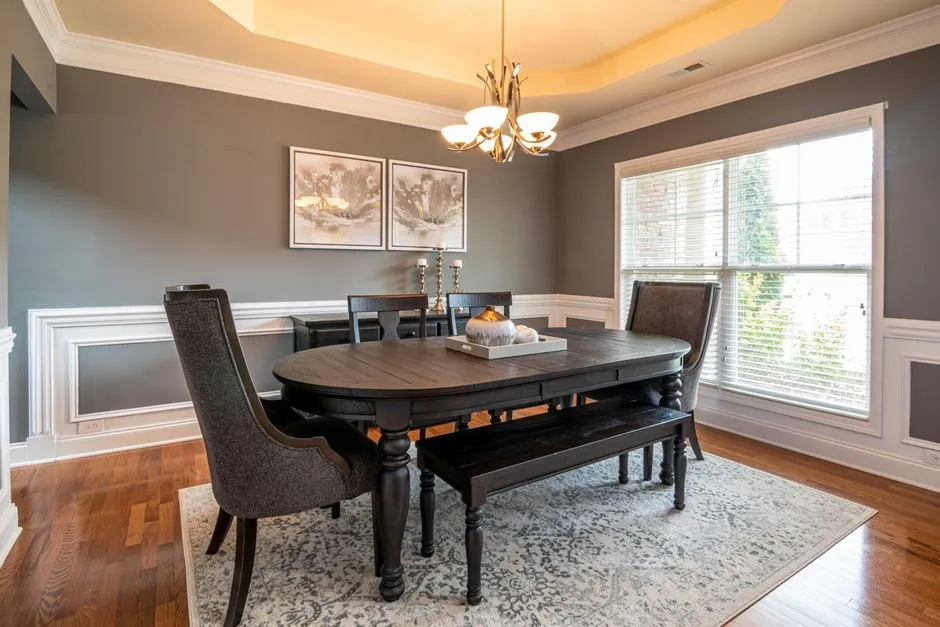
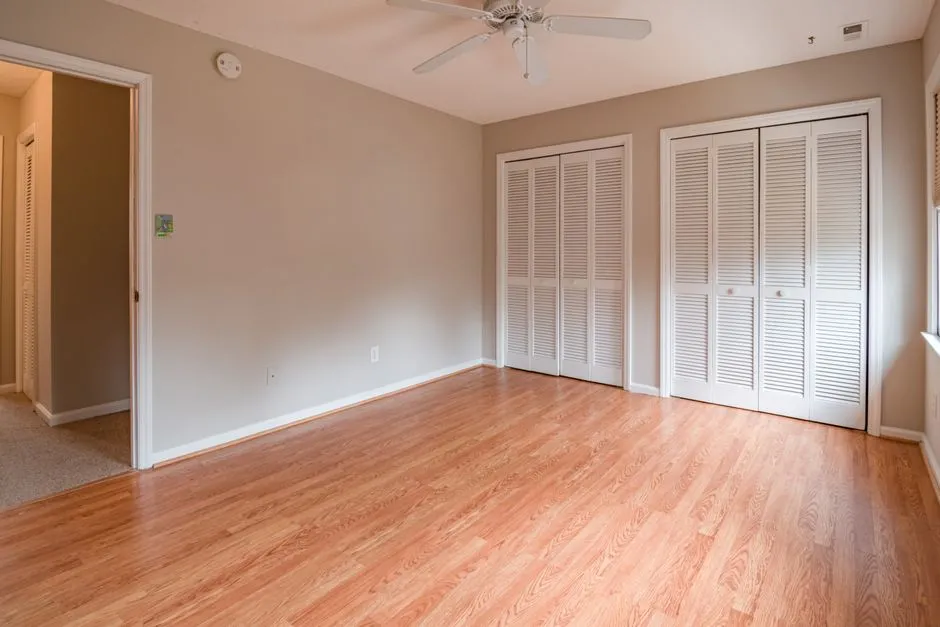
A look at the kind of work and finishes involved — licensed reference photos.
How the work actually works
Good trim is a joinery craft, not just nailing sticks to a wall. Here's how it goes up and the joints that separate finish carpentry from a caulk-and-pray job.
- 1
Measure, plan the runs, and acclimate
The carpenter plans where joints fall and lets the material sit in the room so it doesn't shrink and open gaps after install. Walls and floors are never perfectly straight, so trim gets scribed and cut to follow them.
- 2
Cut the corners — miter vs. cope
Outside corners are mitered (two 45° cuts). Inside corners on baseboard and crown are best 'coped' — one piece cut to the profile of the other — because coped joints stay tight when the house moves, while inside miters open into a visible gap. A carpenter who copes inside corners is doing it right.
- 3
Fasten and set the nails
Trim is nailed into the framing behind the drywall, not just the drywall, and the nail heads are set just below the surface so they can be filled invisibly.
- 4
Fill, caulk, and finish
Nail holes are filled and sanded; the top edge is caulked to the wall for a seamless look. The line between 'caulk hides a tight joint' and 'caulk fills a sloppy gap' is exactly where quality shows — caulk should be a thin bead, not a filler for quarter-inch gaps.
Trim grades and joints
Two trim jobs with the same molding can look completely different depending on material and joinery.
- Paint-grade vs. stain-grade
- Paint-grade (MDF, finger-joint pine) is cheaper and fine under paint — joints get filled. Stain-grade (solid hardwood) shows the wood, so every joint and nail hole must be near-perfect and the material costs more.
- Coped vs. mitered inside corners
- Coped inside corners stay tight as the house moves; mitered inside corners open into a visible gap over time. Coping is the mark of a real finish carpenter.
- Profile height / reveal
- Taller baseboard and multi-piece crown read as more finished (and custom) but cost more per foot. The 'reveal' — how much one element shows past another — should stay consistent around the room.
Red flags of a corner-cut job
- Inside corners mitered instead of coped (they'll open into a gap).
- Thick caulk filling wide gaps instead of tight joints underneath.
- Nails left proud, or holes unfilled before paint.
- Trim nailed only to drywall, not into the framing, so it works loose.
- Trim ending in a raw cut at a wall instead of a finished 'return.'
Put it in writing
- Coped inside corners on baseboard and crown.
- Nail holes set, filled, and sanded; caulk as a finishing touch, not a gap-filler.
- Material grade stated (paint-grade vs. stain-grade) to match your finish.
- Returns on exposed trim ends, not raw cuts.
- Removal and disposal of old trim spelled out if you're replacing.
Talk like a pro
The terms a contractor uses — so you can follow the conversation and ask the right questions.
- Miter
- An angled cut (usually 45°) where two pieces meet at a corner.
- Cope
- Cutting one piece to the exact profile of its neighbor for a tight inside corner that won't open up.
- Scribe
- Trimming a piece to follow a wall or floor that isn't straight, so it sits flush.
- Reveal
- The consistent margin one trim element shows past another (e.g. casing set back from the door edge).
- Return
- A small mitered piece that wraps trim back to the wall so it ends cleanly instead of with a raw cut.
- Paint-grade / stain-grade
- Trim meant to be painted (joints filled) vs. stained (wood shows, so joinery must be flawless).
What drives the cost
- Linear footage and profile complexity — tall baseboard and multi-piece crown take far longer than simple ranch profiles
- Number of corners and the joinery expected (coped vs. mitered inside corners)
- Material — paint-grade MDF/finger-joint vs. stain-grade hardwood (stain-grade is unforgiving and pricier)
- Whether old trim is removed, and how out-of-square the walls and floors are
What it costs to hire
Real per-unit rates pros publish on FinerNest — a sample of trim services:
Baseboard install (new) | $2–$10 per linear ft |
Baseboard remove + install new | $3–$12 per linear ft |
Crown molding install | $5.68–$10 per linear ft |
Quarter round / shoe molding | $2–$5 per linear ft |
Door casing / trim | $35–$100 per door (single side) |
See full prices and pros in Palmdale, Los Angeles.
Permits & safety
Permit and licensing rules vary by city and county. Before you start, check your local building department — and when in doubt, a licensed pro will know what your jurisdiction requires.
Trim FAQ
What should a trim quote actually include?
A good quote names the materials, the spec or grade, and the scope of work — not just one lump-sum number. The more a bid leaves vague, the more room there is for surprise costs and cut corners. The checklist above lists exactly what to put in writing for this kind of work.
How much does Trim work cost?
On FinerNest, Trim work is priced by the unit rather than as a single bid, so you see the rate up front. The rates above reflect what pros publish; open the city links to see full prices and available pros near you.
How do I find a trustworthy trim pro?
Look for published rates, reviewable past work, and verified licensing where it applies. FinerNest lists local pros with all three so you can compare on work and price rather than chasing quotes.
Decided to hire it out?
Compare trim pros with real rates and reviewable work.