
Drywall: what to know before you hire
Drywall looks simple — hang the boards, mud the seams, sand, paint. But the quality (and the price) lives almost entirely in the finishing, and there's an industry standard that names exactly how smooth your walls are supposed to be. Knowing it is the difference between flawless walls and seams that 'photograph' under every lamp you own.
What drywall work looks like
Real jobs from FinerNest drywall pros — not stock photos. Tap a photo to see who did it.
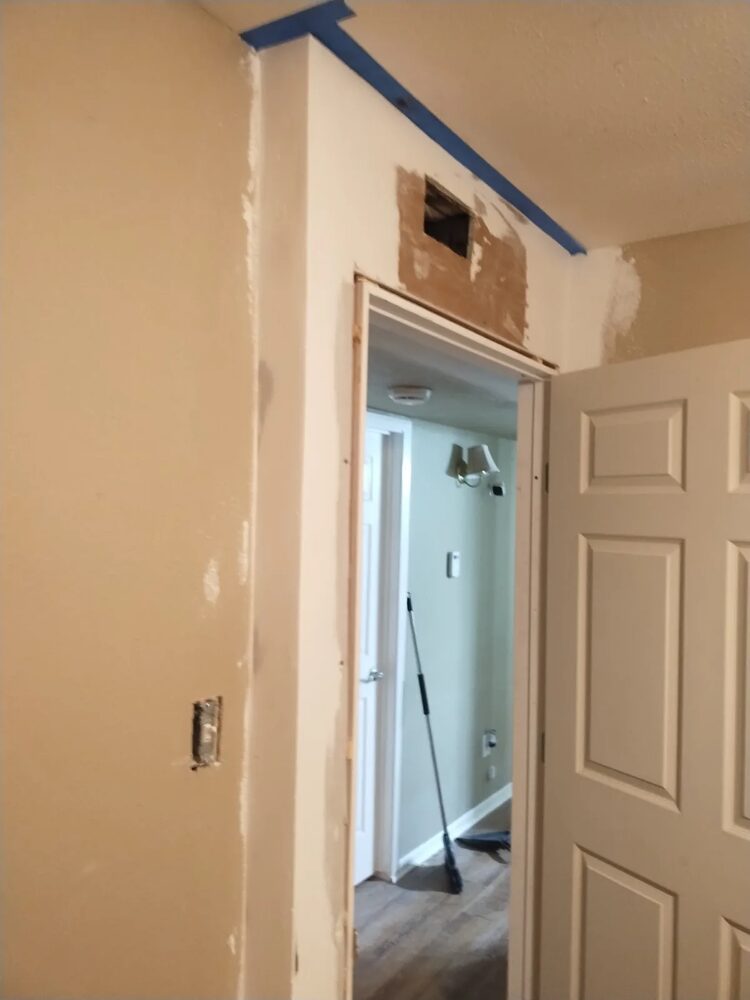
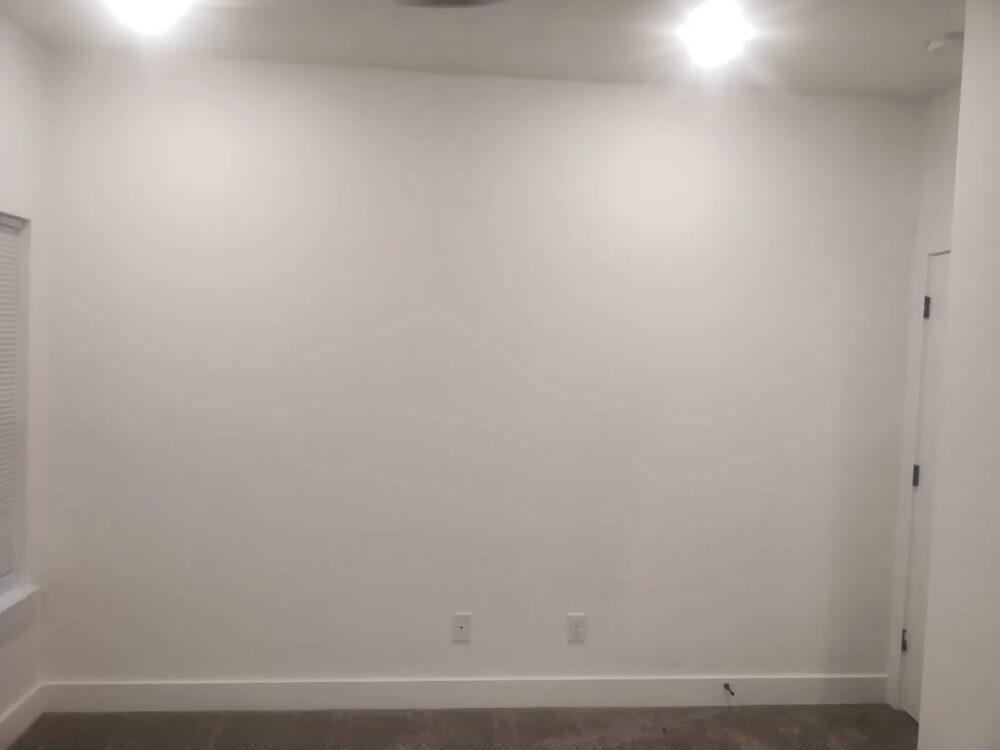
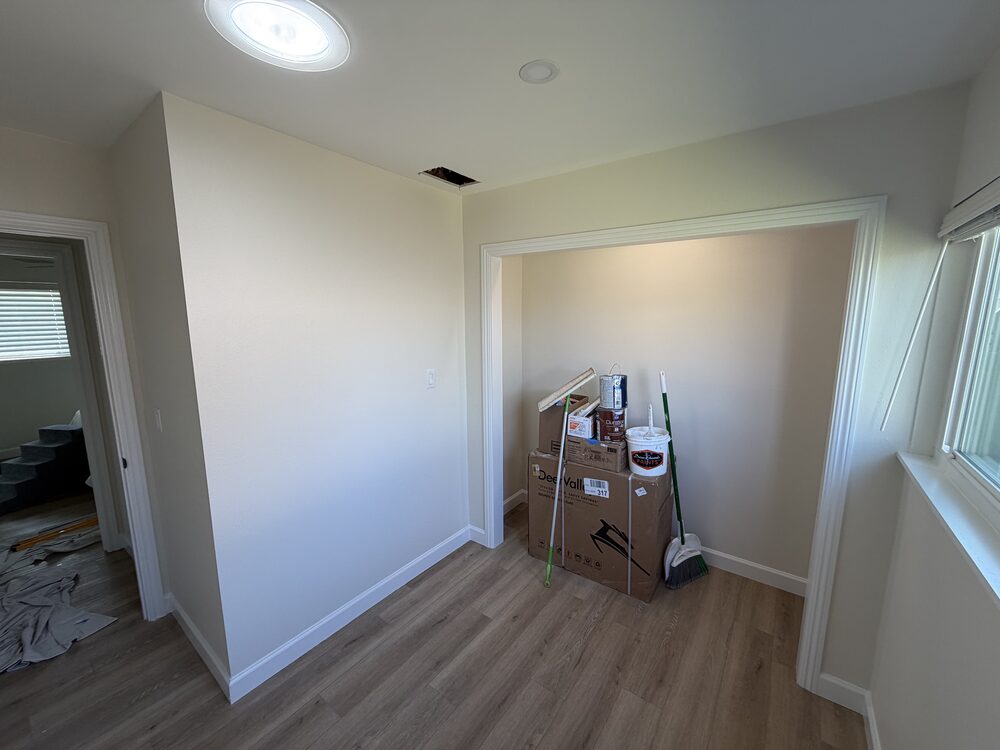
How the work actually works
Drywall is a three-coat craft, not a one-pass chore. Here's the real sequence and the finish-level standard that should be in your contract.
- 1
Hang the board
Sheets (usually 4×8 or 4×12) are screwed to the studs. Bigger sheets mean fewer seams — running a 4×12 across a wall avoids extra joints. Screws are set just below the surface ('dimpled') without breaking the paper face; a screw blown through the paper holds almost nothing.
- 2
Tape the seams (coat 1)
Every joint and inside corner gets joint compound ('mud') and tape; outside corners get a metal or plastic corner bead. This is the first of three mud coats — embedding the tape so the seam can be built flat.
- 3
Fill and finish (coats 2 & 3)
A fill coat then a finish coat, each spread wider and feathered out so the seam disappears into the flat wall. Mud shrinks as it dries, which is exactly why it takes three passes — anyone promising one coat is cutting corners.
- 4
Sand and prime
Sanded smooth (ideally with vacuum dust control), then primed. Primer isn't optional: bare mud and bare paper soak up paint differently, so skipping it leaves the seams visible as dull/shiny 'flashing' through the topcoat.
Drywall finish levels (Level 0–5)
The industry standard (Gypsum Association GA-214 / ASTM) grades drywall smoothness from 0 to 5. This is the single most important thing to put in your contract — 'drywall' with no level named is where disputes start. Most pros assume Level 4 unless told otherwise, and you can't demand a finish you didn't specify.
- Level 0
- No finishing at all — board hung, untaped. A temporary state, e.g. before a mid-job inspection.
- Level 1
- Tape set in mud, nothing more. For areas no one sees — above ceilings, inside plenums.
- Level 2
- One coat over tape and screws; tool marks are fine. Garages, behind tile or cabinets — anywhere appearance doesn't matter.
- Level 3
- Two coats, smoother — but only for walls getting heavy texture (knockdown, orange peel) or heavy wallcovering. Do NOT accept Level 3 under flat paint; you'll see the seams.
- Level 4
- Three coats, smooth. The residential default for flat/matte paint and light textures. This is what 'finished drywall' should mean unless stated otherwise.
- Level 5
- Level 4 plus a thin skim coat over the entire surface. Required for gloss/semi-gloss/enamel, dark colors, and walls under raking light (big windows, sconces, vaulted rooms). The only reliable defense against joints 'photographing.'
Each row above shows the finish in cross-section. Levels 0–4 only treat the joints and fasteners; Level 5 adds a skim coat across the entire wall — the only reliable fix for seams that show under bright, angled light.
Red flags of a corner-cut job
- A bid that just says 'drywall' or 'tape and texture' with no finish level named.
- One or two mud coats instead of three (ask exactly how many coats are included).
- Mesh tape on ceilings or butt joints — it's weaker there and prone to cracking; paper tape is stronger.
- No primer line in the quote, or 'paint goes straight on.'
- Dry hand-sanding with no dust control in an occupied home.
Put it in writing
- Finish level in writing — Level 4 for normal walls, Level 5 if you have gloss paint, dark colors, or dramatic lighting.
- Three coats of mud, and a primer coat before paint.
- A raking-light walk-through before sign-off: a bright work light held at a low angle along each wall is when seams reveal themselves.
- Dust control (vacuum-assisted sanding or containment) if you're living there.
- Who fixes screw pops and corner cracks if they appear in the first year.
Talk like a pro
The terms a contractor uses — so you can follow the conversation and ask the right questions.
- Mud (joint compound)
- The paste used to fill seams. 'Hot mud' (setting compound) hardens chemically and fast; 'all-purpose' / 'lightweight' air-dries and sands easier.
- Butt joint vs. tapered joint
- Factory edges are tapered (recessed) so mud sits flush; butt joints (cut ends) have no recess and are the hardest to hide — good hangers minimize them.
- Screw pop
- A fastener that backs out and cracks the surface later. A few over time is normal; a wall full of them means too few or over-driven screws.
- Photographing / banding
- Seams showing as faint stripes under angled light — caused by under-finishing, or skipping Level 5 where it was needed.
- Texture (knockdown / orange peel / skip trowel)
- Sprayed or troweled patterns that hide minor imperfections — and let a pro get away with a lower finish level underneath.
What drives the cost
- Finish level (a Level 5 skim coat is far more labor than a Level 4)
- Hanging complexity — high ceilings, butt joints, archways, and cutouts
- Number of mud coats and whether dust-controlled sanding is included
- Repair vs. new: matching existing texture is often fussier than a fresh wall
What it costs to hire
Real per-unit rates pros publish on FinerNest — a sample of drywall services:
Drywall install — Level 3 finish | $36–$100 per sheet (4×8) |
Drywall install — Level 4 finish (standard) | $45–$150 per sheet (4×8) |
Drywall install — Level 5 finish (premium) | $45–$150 per sheet (4×8) |
Drywall patch repair | $50–$300 per patch |
Drywall texture matching | $50–$150 per patch |
See full prices and pros in Palmdale, Los Angeles.
Permits & safety
Permit and licensing rules vary by city and county. Before you start, check your local building department — and when in doubt, a licensed pro will know what your jurisdiction requires.
Drywall FAQ
What should a drywall quote actually include?
A good quote names the materials, the spec or grade, and the scope of work — not just one lump-sum number. The more a bid leaves vague, the more room there is for surprise costs and cut corners. The checklist above lists exactly what to put in writing for this kind of work.
How much does Drywall work cost?
On FinerNest, Drywall work is priced by the unit rather than as a single bid, so you see the rate up front. The rates above reflect what pros publish; open the city links to see full prices and available pros near you.
How do I find a trustworthy drywall pro?
Look for published rates, reviewable past work, and verified licensing where it applies. FinerNest lists local pros with all three so you can compare on work and price rather than chasing quotes.
Decided to hire it out?
Compare drywall pros with real rates and reviewable work.